如何在 VMware Workstation 裡安裝 Fortigate VM 版本
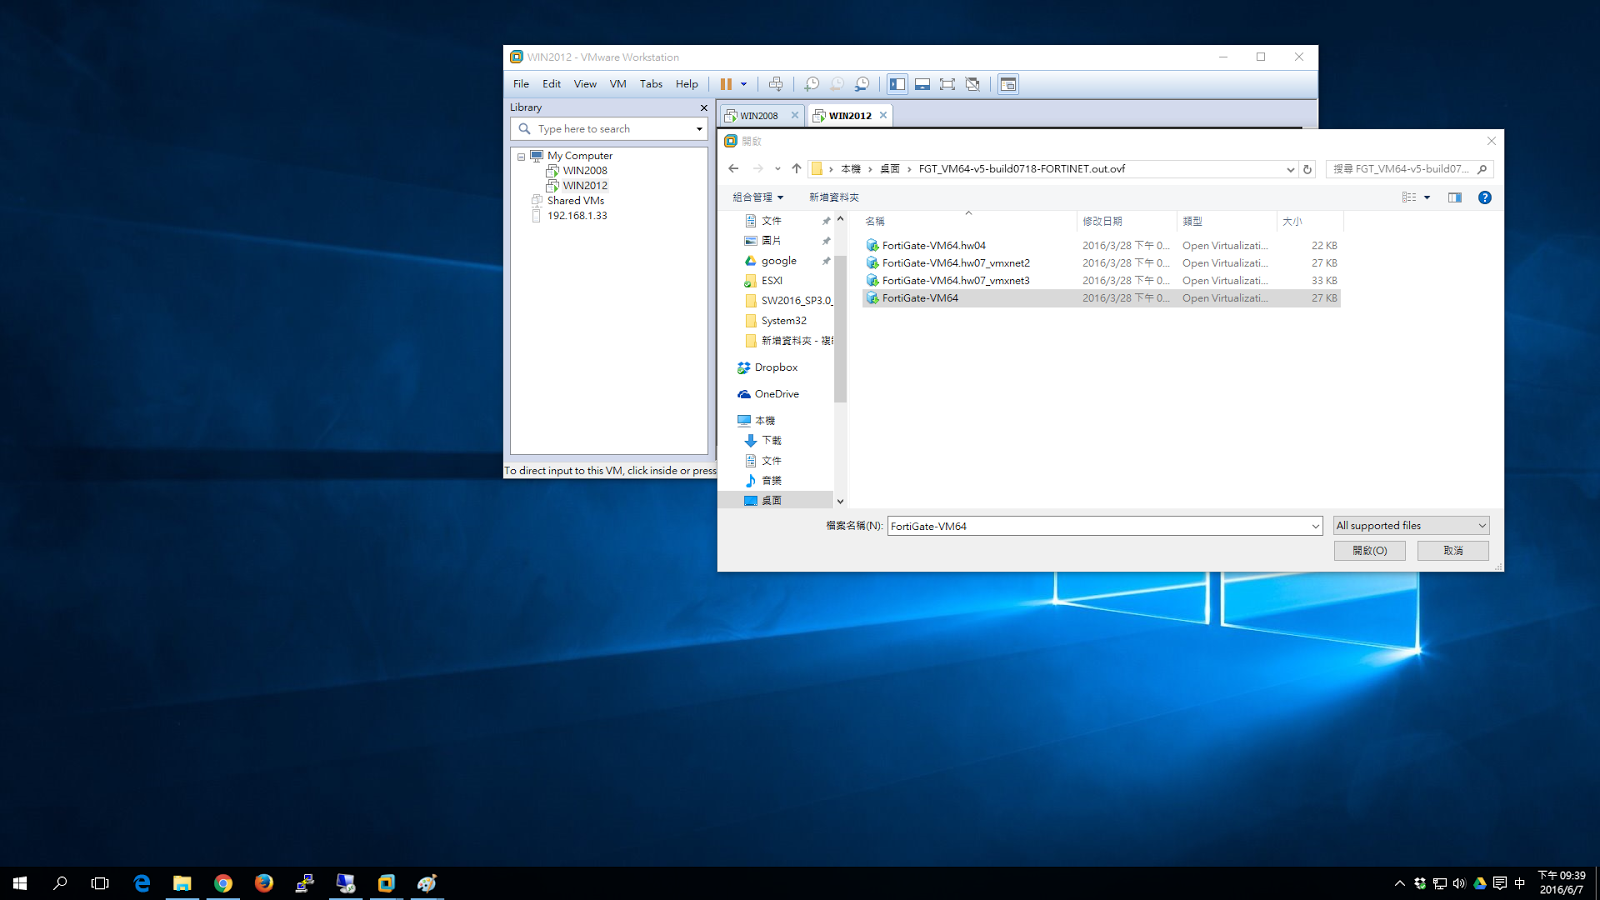
打開VMware Workstation,File -> Open 選擇 FortiGate-VM64.ovf 匯入虛擬機,ovf是虛擬機封裝的檔案格式,簡單來說就是你可以建立一台虛擬機,關機後匯出ovf,然後再去其他虛擬環境把這台虛擬機匯入。
FortiGate-VM64.ovf: OVF template based on Intel e1000 NIC driver
FortiGate-VM64.hw04.ovf: OVF template file for older (v3.5) VMware ESX server
FortiGate-VMxx.hw07_vmxnet2.ovf: OVF template file for VMware vmxnet2 driver
FortiGate-VMxx.hw07_vmxnet3.ovf: OVF template file for VMware vmxnet3 driver
四個檔案版本差異如上。
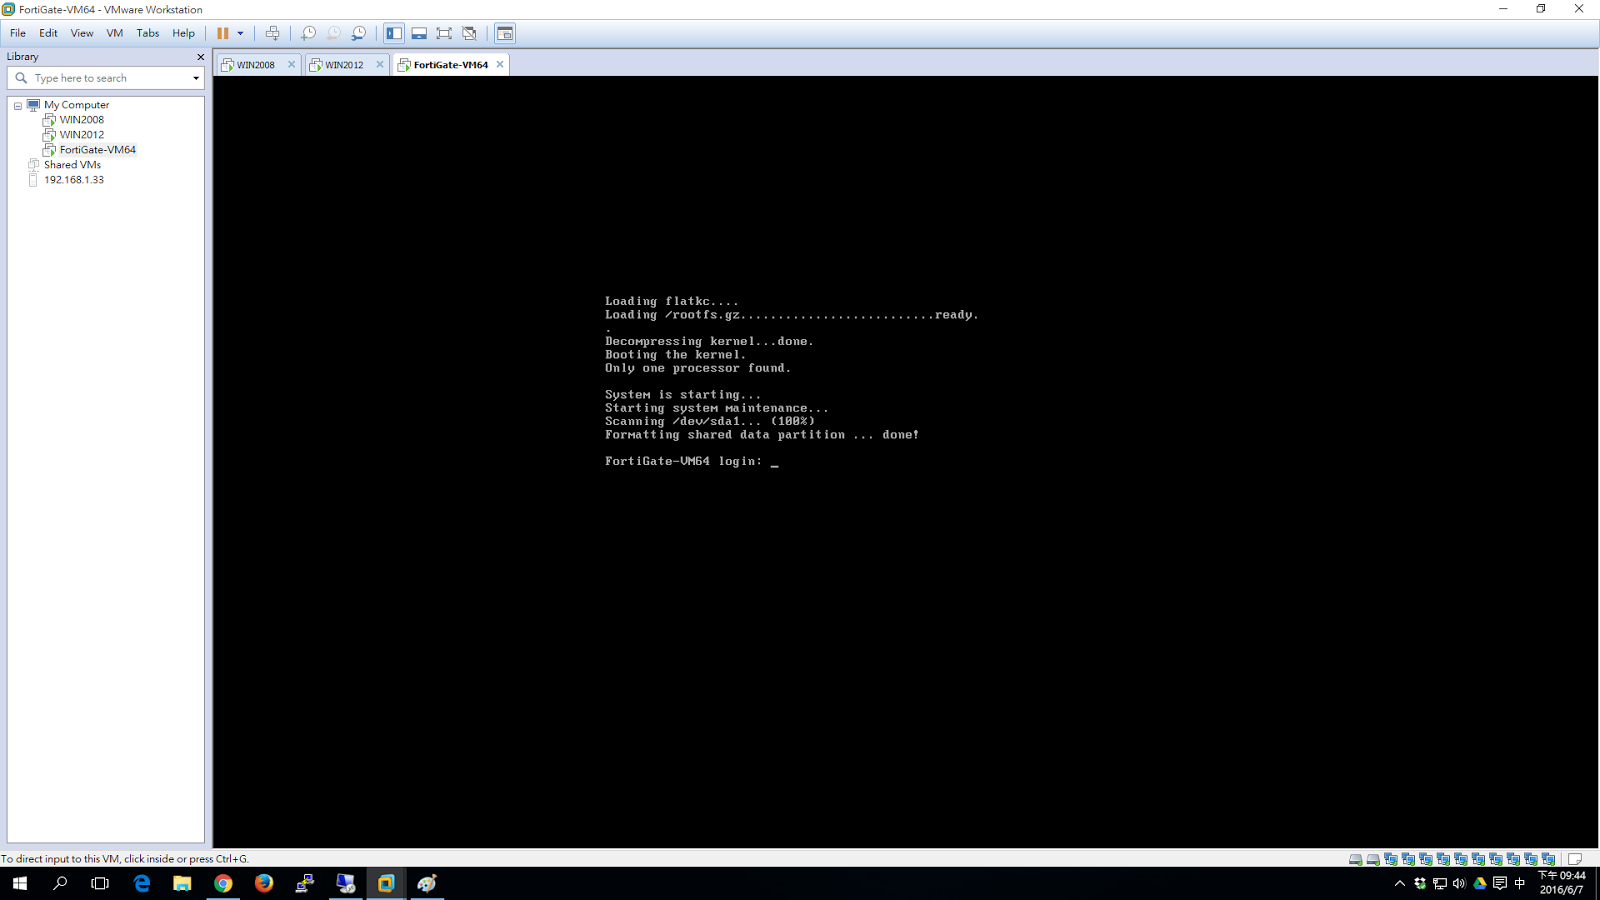
開機會會停在 login 的畫面。
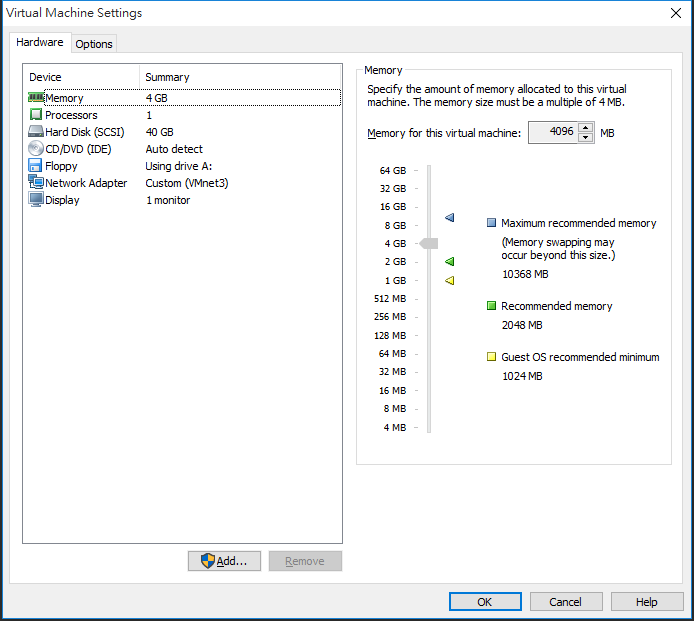
我們編輯一下虛擬機會發現他的網卡有三種常用方式:
1.Bridged:模擬跟實體網卡接同一個交換器上。
2.NAT:發一段DHCP,然後利用你的實體網卡IP NAT出去。
3.Host-only:獨立建立一段私人的網段,發一段DHCP給你的虛擬機器互連,你也可以關掉 DHCP。
所以看起來預設都是跟實體網卡Bridged。

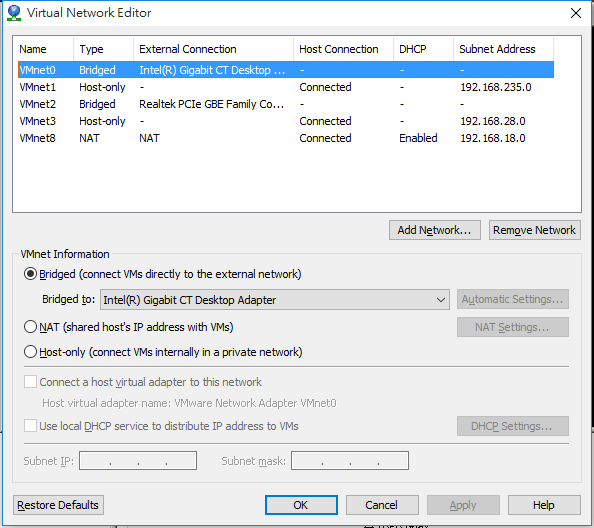
更細部的設定要到 Edit 裡的 Virtual Network Editor來看,
比方說我的兩張實體網卡,所以我會產生 VMnet0和 VMnet2。
如果我想要指定Bridged Realtek這張網卡,我會選擇Custom VMnet2。
因為我的電腦是192.168.4.0/24網段,所以我要設定一個IP為192.168.4.222/24,以下為範例:
預設帳號密碼是 admin 沒密碼。
FortiGate-VM64 login: admin
Password:
Welcome !
login as: admin
FortiGate-VM64 # config system interface
FortiGate-VM64 (interface) # edit port1
FortiGate-VM64 (port1) # set ip 192.168.4.222 255.255.255.0
FortiGate-VM64 (port1) # show
config system interface
edit "port1"
set vdom "root"
set ip 192.168.4.222 255.255.255.0
set allowaccess ping https ssh http fgfm
set type physical
set snmp-index 1
next
end
FortiGate-VM64 (port1) # next
FortiGate-VM64 (interface) # end
FortiGate-VM64 #


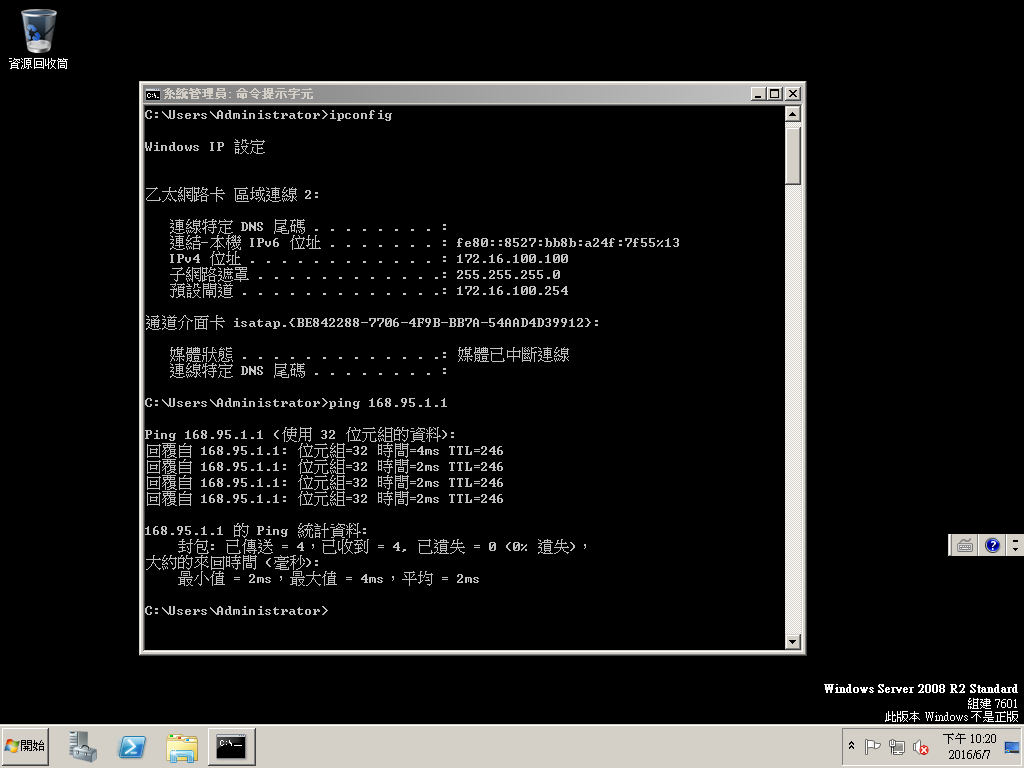
測試機 Windows 2008 接在port2確實拿到DHCP 172.16.100.100/24 可以上網。
測試機 Windows 2012 接在port3確實拿到DHCP 172.16.200.100/24 可以上網。

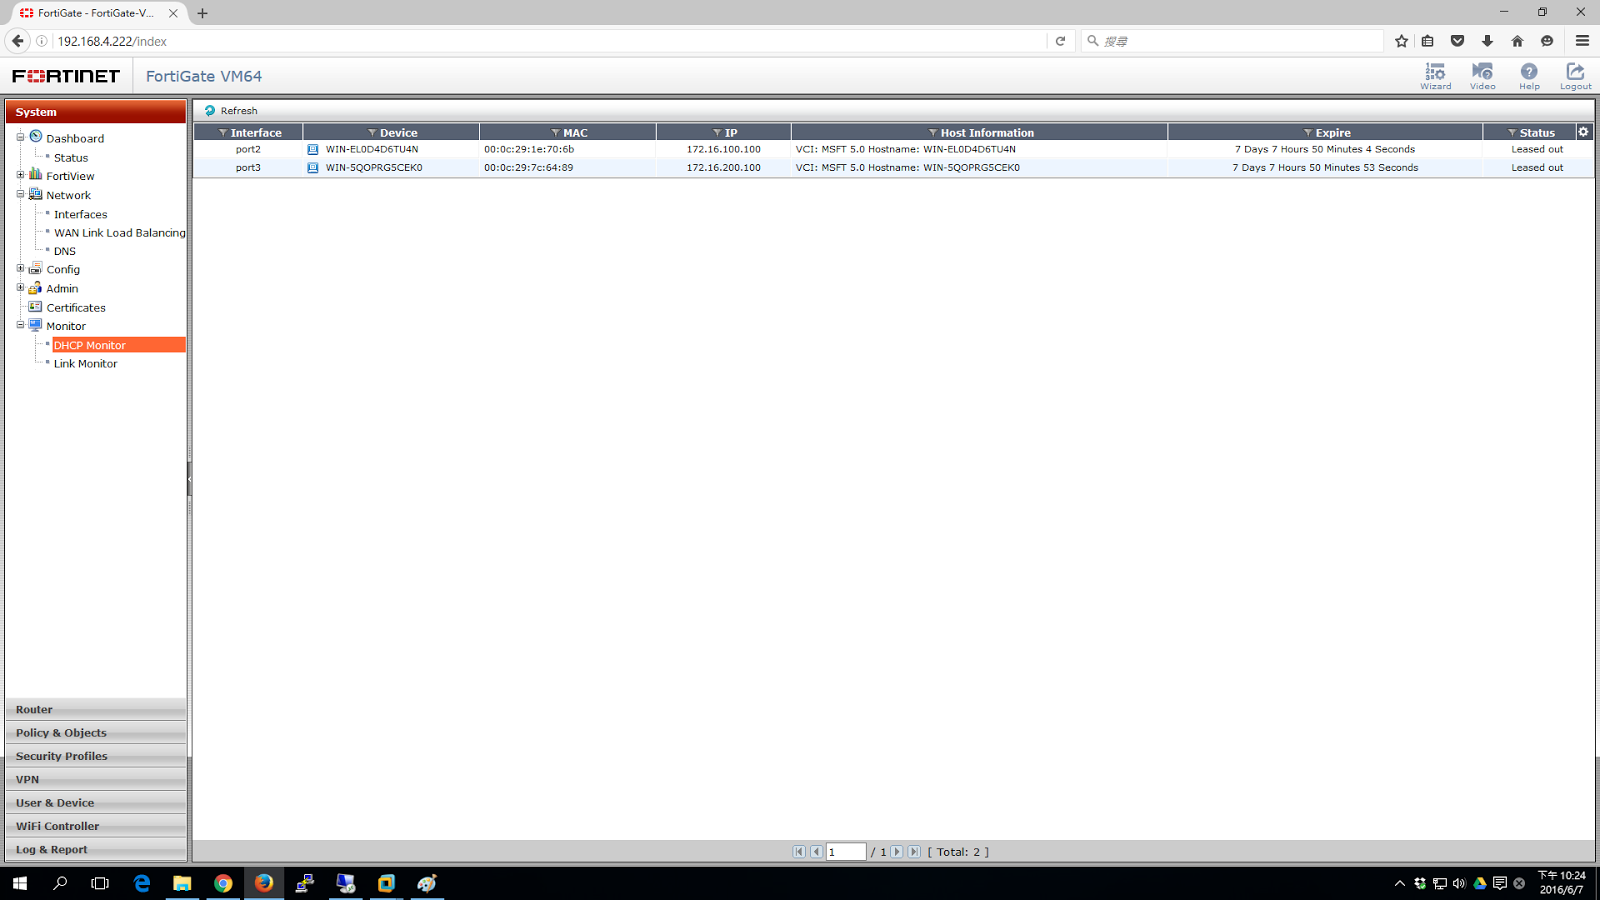
查看DHCP SERVER有發出IP。
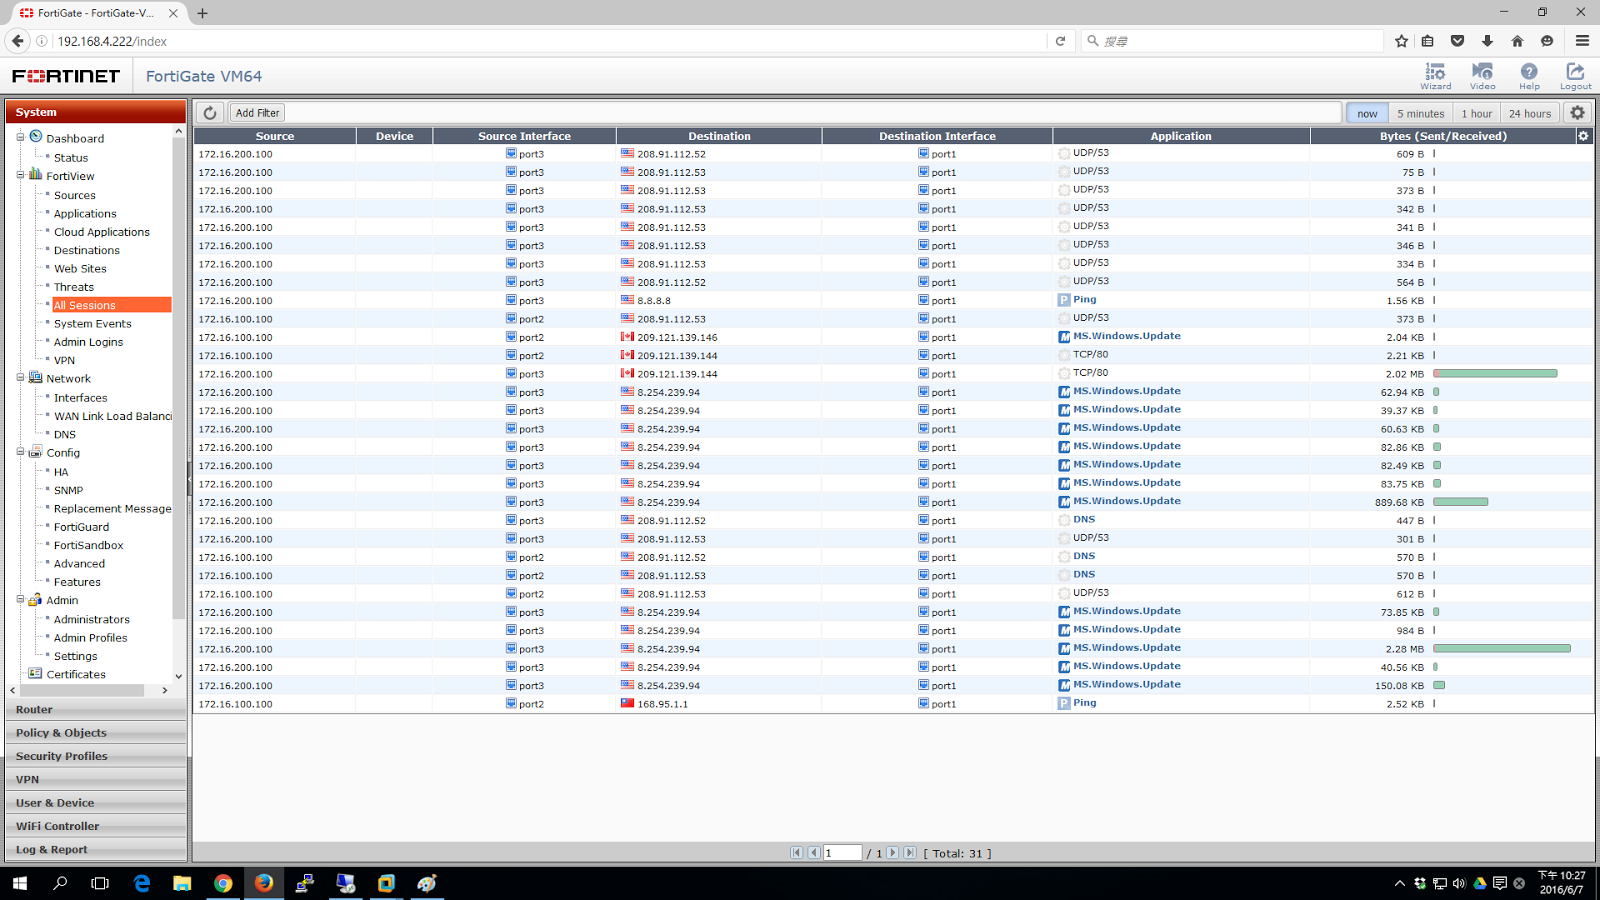
防火牆確實有偵測到流量經過。
FortiGate-VM64.ovf: OVF template based on Intel e1000 NIC driver
FortiGate-VM64.hw04.ovf: OVF template file for older (v3.5) VMware ESX server
FortiGate-VMxx.hw07_vmxnet2.ovf: OVF template file for VMware vmxnet2 driver
FortiGate-VMxx.hw07_vmxnet3.ovf: OVF template file for VMware vmxnet3 driver
四個檔案版本差異如上。
開機會會停在 login 的畫面。
我們編輯一下虛擬機會發現他的網卡有三種常用方式:
1.Bridged:模擬跟實體網卡接同一個交換器上。
2.NAT:發一段DHCP,然後利用你的實體網卡IP NAT出去。
3.Host-only:獨立建立一段私人的網段,發一段DHCP給你的虛擬機器互連,你也可以關掉 DHCP。
所以看起來預設都是跟實體網卡Bridged。
更細部的設定要到 Edit 裡的 Virtual Network Editor來看,
比方說我的兩張實體網卡,所以我會產生 VMnet0和 VMnet2。
如果我想要指定Bridged Realtek這張網卡,我會選擇Custom VMnet2。
因為我的電腦是192.168.4.0/24網段,所以我要設定一個IP為192.168.4.222/24,以下為範例:
預設帳號密碼是 admin 沒密碼。
FortiGate-VM64 login: admin
Password:
Welcome !
login as: admin
FortiGate-VM64 # config system interface
FortiGate-VM64 (interface) # edit port1
FortiGate-VM64 (port1) # set ip 192.168.4.222 255.255.255.0
FortiGate-VM64 (port1) # show
config system interface
edit "port1"
set vdom "root"
set ip 192.168.4.222 255.255.255.0
set allowaccess ping https ssh http fgfm
set type physical
set snmp-index 1
next
end
FortiGate-VM64 (port1) # next
FortiGate-VM64 (interface) # end
FortiGate-VM64 #
(注意一定要打next離開interface不然設定不會生效)
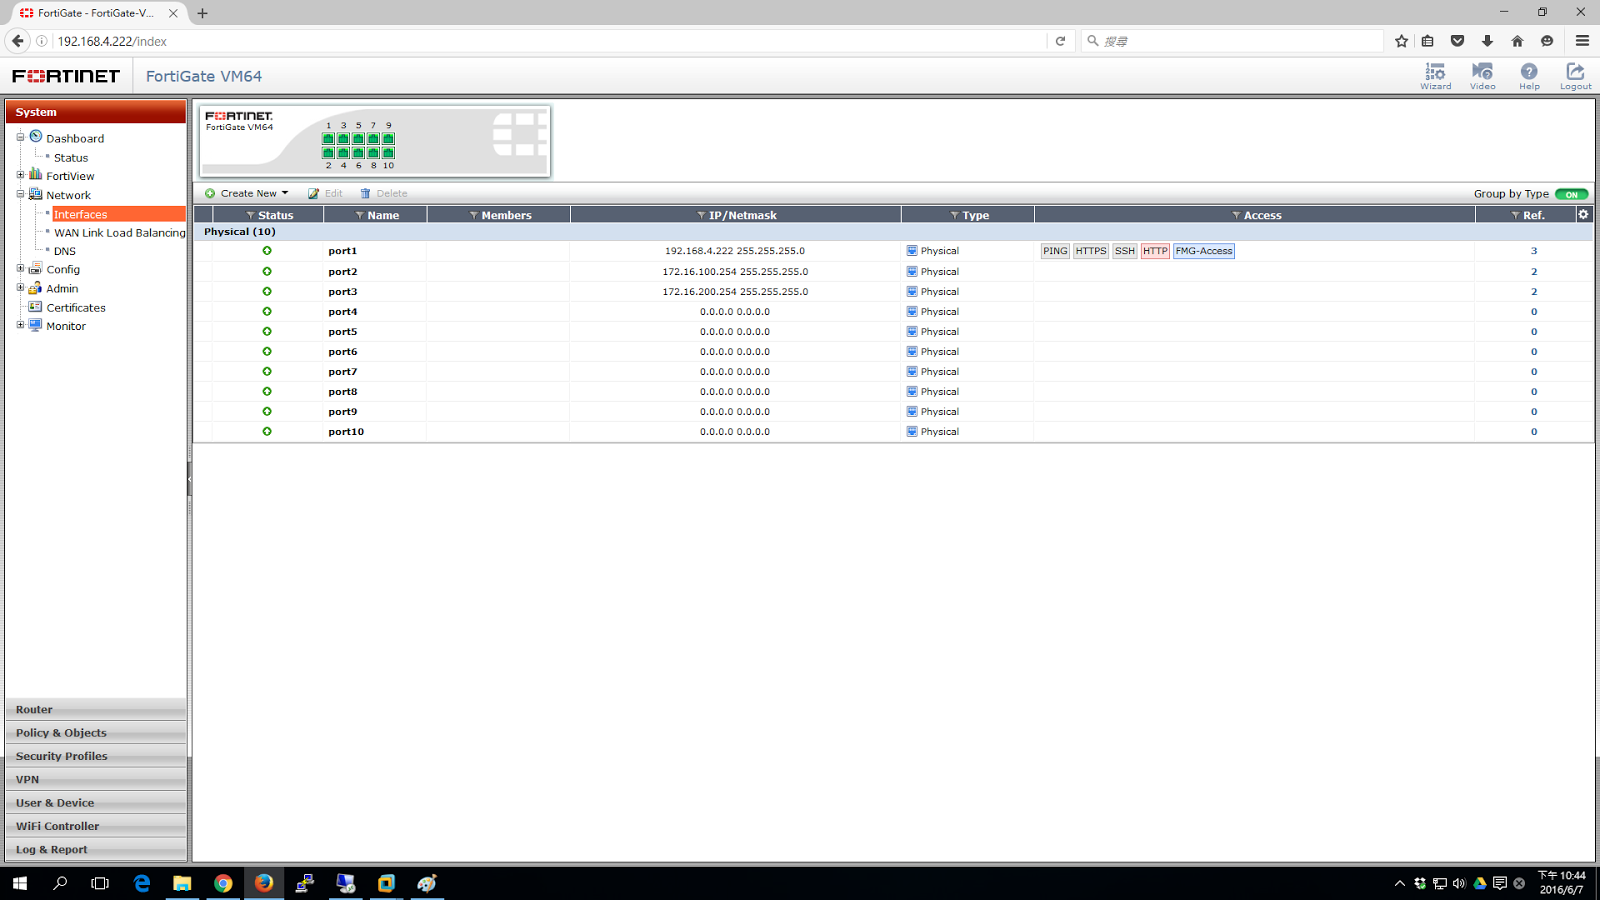
接下來用瀏覽器連結 http://192.168.4.222,官方有說因為加密負擔太大,所以停用https,設了也不能連。
登入之後警告你只有14天可以用。
接下來介面IP、Routing、NAT、政策我就不多說了,主是要是建立測試機,所以我建立兩台虛擬機,然後一台接在port2同網段VMnet1(Host only),另一台接在port3同網段VMnet3(Host Only)。
測試機 Windows 2008 接在port2確實拿到DHCP 172.16.100.100/24 可以上網。
測試機 Windows 2012 接在port3確實拿到DHCP 172.16.200.100/24 可以上網。
查看DHCP SERVER有發出IP。
防火牆確實有偵測到流量經過。


留言
張貼留言